
In the age of digital enhancement and filters, the ability to alter one’s appearance with a few simple taps has become commonplace. One of the most popular and amusing filters to emerge in recent years is the beard filter. While many enjoy adding a beard to their visage for a fresh look or a humorous twist, there are times when you might want to remove it. Whether you’re looking to revert to a clean-shaven look for professional purposes or simply prefer your natural appearance, understanding how to remove a beard filter effectively is essential. This guide will walk you through everything you need to know about removing beard filters, ensuring your digital persona matches your real-world aesthetic.
Understanding Beard Filters
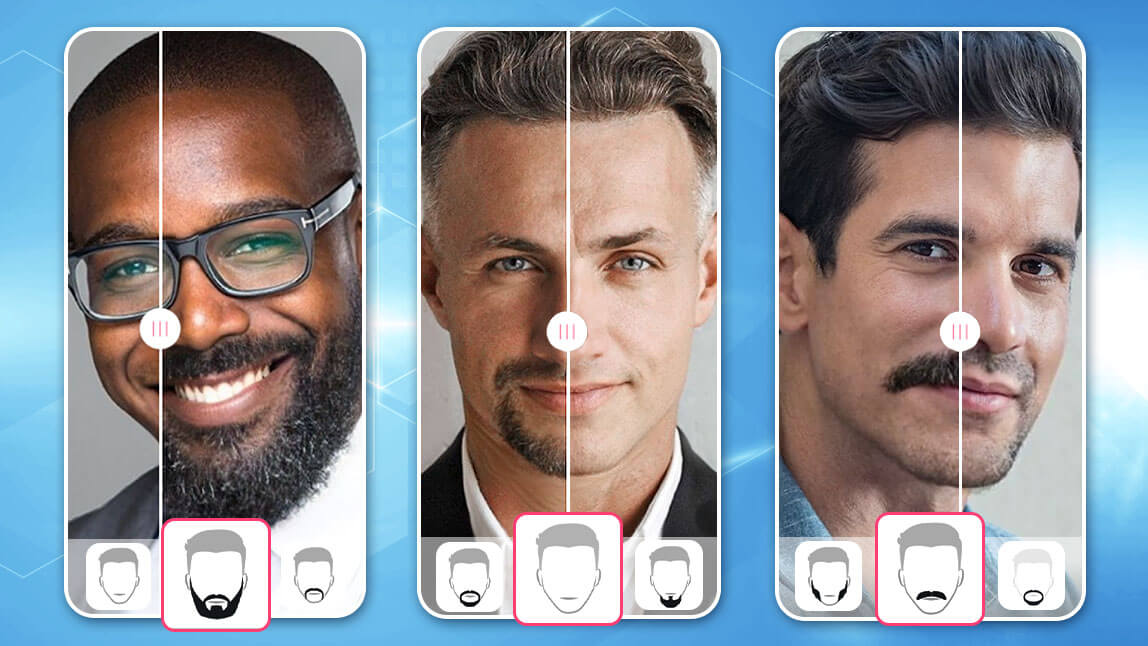
Before diving into the removal process, it’s crucial to understand what beard filters are and how they work. Beard filters are digital overlays that use facial recognition technology to add a realistic-looking beard to a person’s face in photos or videos. These filters are available on various social media platforms and photo editing apps, making them widely accessible and easy to use.
Popularity and Uses
Beard filters have gained popularity for their ability to instantly transform one’s appearance. They are often used for:
- Social Media Fun: Users enjoy sharing amusing and unexpected versions of themselves.
- Try-Before-You-Buy: Some use these filters to see how they would look with facial hair before committing to growing a real beard.
- Marketing and Promotions: Brands may use beard filters in campaigns to engage with their audience in a fun and interactive way.
However, the novelty can wear off, and there may be occasions when you need to remove the beard filter, either for a more polished look or because the filter did not apply as smoothly as desired.
Methods to Remove Beard Filters
There are several ways to remove a beard filter from your images, depending on the tool or platform you’re using. Below, we will cover both manual and automated methods for removing beard filters.
Using Photo Editing Software
Adobe Photoshop
Adobe Photoshop is a powerful tool that provides extensive options for removing unwanted elements from your images, including beard filters.
- Open the Image: Start by opening the image with the beard filter in Photoshop.
- Select the Area: Use the Lasso Tool or the Magic Wand Tool to carefully select the area with the beard.
- Content-Aware Fill: Once the beard area is selected, go to
Edit > Fill > Content-Aware. This will replace the selected area with pixels that match the surrounding skin tone and texture. - Refine Edges: Use the Clone Stamp Tool or Healing Brush Tool to refine the edges and ensure a seamless look.
GIMP (GNU Image Manipulation Program)
GIMP is a free alternative to Photoshop that also offers robust editing capabilities.
- Open the Image: Load your image into GIMP.
- Select the Beard Area: Use the Free Select Tool to outline the beard.
- Remove the Beard: Apply the
Heal Selectionfeature found underFilters > Enhance > Heal Selectionto remove the beard. - Touch Up: Use the Clone Tool to touch up any remaining areas and blend the skin tones.
Mobile Apps for Quick Edits
If you’re looking for a quicker and more convenient solution, several mobile apps can help you remove beard filters on the go.
Snapseed
Snapseed is a versatile photo editing app available on both iOS and Android.
- Open the Image: Load your photo into Snapseed.
- Healing Tool: Navigate to the Tools section and select the Healing Tool. Tap on the beard to remove it.
- Refine: Use the Brush Tool to smooth out any inconsistencies and match the skin tone.
Facetune
Facetune is another popular app that specializes in portrait retouching.
- Open the Image: Import your photo into Facetune.
- Patch Tool: Use the Patch Tool to remove the beard. Select an area of clear skin and apply it over the beard.
- Smooth Tool: Use the Smooth Tool to blend the patched area with the rest of the face.
Online Tools for Beard Removal
For those who prefer not to download software or apps, online tools offer a convenient alternative. Websites like Fotor and Pixlr provide easy-to-use interfaces for quick edits.
Fotor
- Upload Image: Upload your photo to Fotor.
- Retouching: Use the Blemish Fix and Clone tools to remove the beard.
- Adjustments: Make final adjustments to ensure a natural appearance.
Pixlr
- Open Image: Upload your image to Pixlr.
- Healing Tool: Use the Healing Tool to remove the beard.
- Fine-Tuning: Adjust the skin tone and texture using the available editing tools.

Best Practices for a Natural Look
Removing a beard filter effectively requires attention to detail to ensure the final result looks natural. Here are some best practices to keep in mind:
- High-Resolution Images: Always work with the highest resolution version of your image to retain quality and detail.
- Consistent Lighting: Ensure the lighting in the edited areas matches the rest of the image to avoid obvious discrepancies.
- Blending Techniques: Use blending tools to smooth out edges and integrate the edited area seamlessly.
- Multiple Edits: It may take several passes with different tools to achieve a perfect result. Don’t be afraid to experiment and refine your technique.
Conclusion
The ability to remove a beard filter from your images can be incredibly useful, whether for personal preference or professional requirements. By utilizing powerful photo editing software like Adobe Photoshop and GIMP, mobile apps like Snapseed and Facetune, or online tools such as Fotor and Pixlr, you can achieve a clean, natural look. Remember to pay attention to details, use high-resolution images, and practice blending techniques for the best results. With these tips and methods at your disposal, you’ll be well-equipped to master the art of beard filter removal, ensuring your digital appearance is always polished and true to your desired look.